Jira
What are the benefits of integration Jira with the ARMO Platform?
- The ARMO Platform provides bi-directional integration with Jira which reflects the ticket status.
- It supports multiple issue types and allows you to set the reporter and assignee.
- It supports mandatory fields and shows indicators for visibility and tracking.
- The platform also provides a link within the ticket for easy access to the ARMO Platform.
Set up your Jira integration
ARMO Jira integration allows you to manually raise Jira issues in the ARMO UI for any security findings.
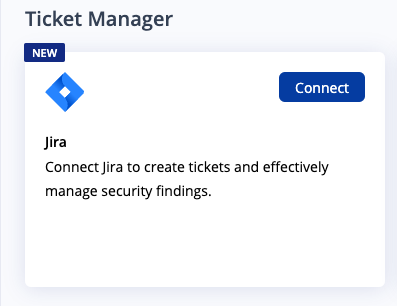
To integrate Jira with ARMO, head over to the Jira integration settings page. This page allows you to configure your Jira site integration(s).
- Start by clicking the Connect button
- Click the Accept button on the Atlassian authentication page
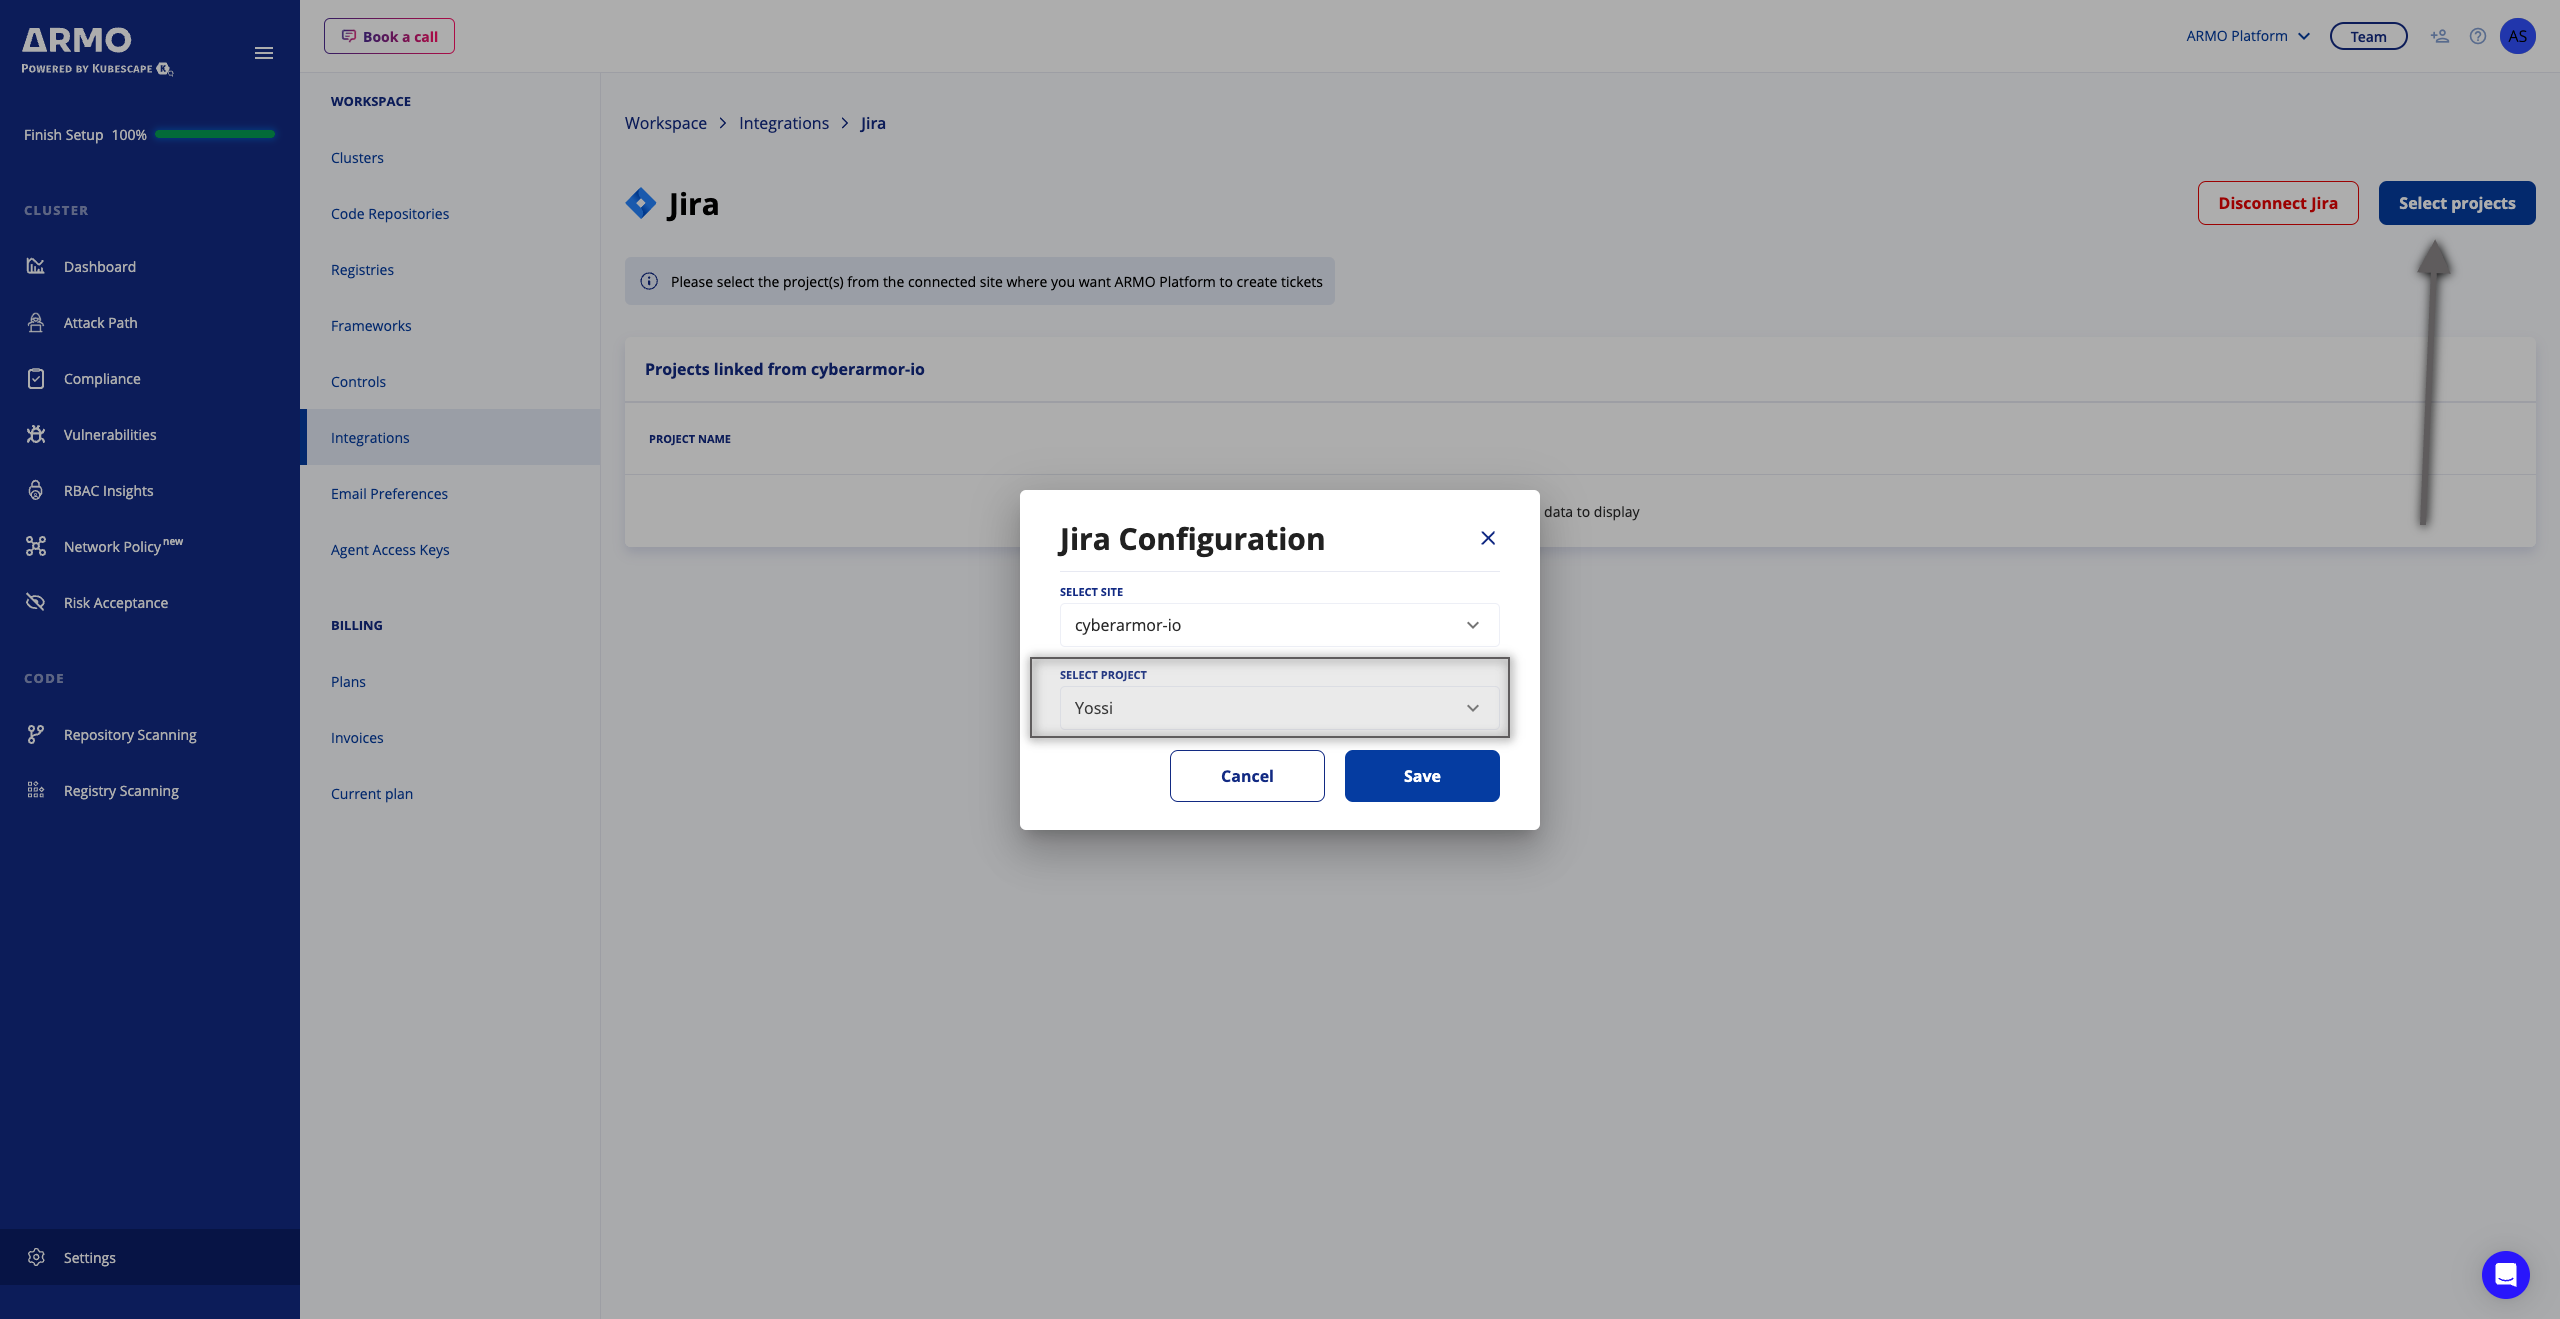
- Click the Select Projects button, and select the projects you want to

Create a ticket
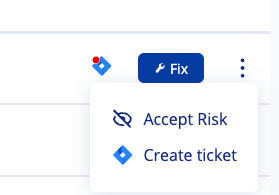
After you set up the Jira integration connection, you can create a Jira issue for any security finding on the ARMO Platform by clicking the 3 dots menu --> Create ticket
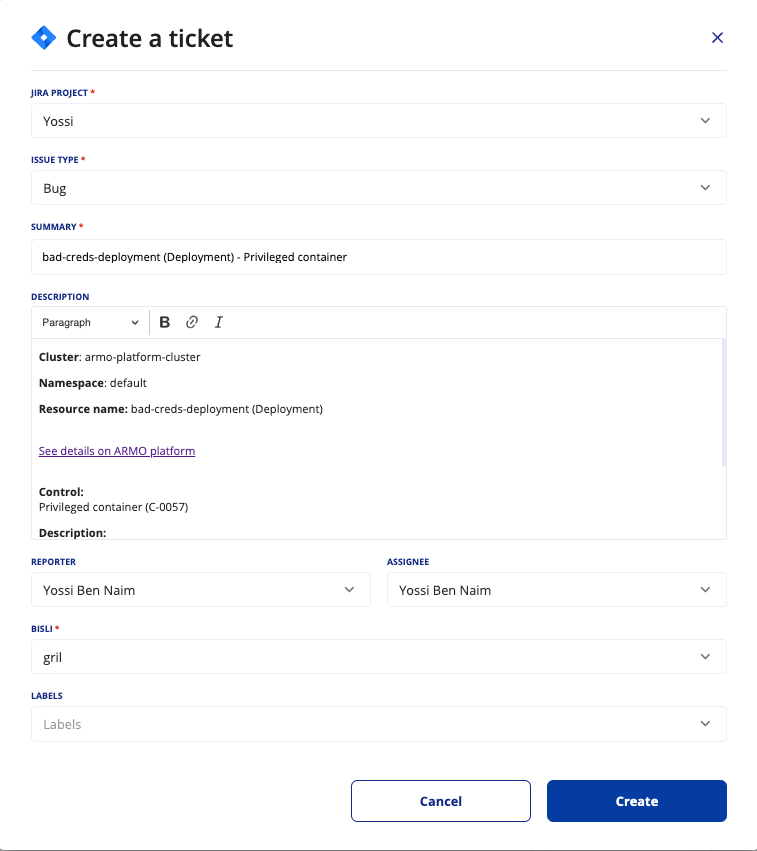
When you click Create ticket, a Jira ticket creation form appears. This form includes the ARMO findings details, which are copied into the associated fields. You can review and edit this form before creating the ticket.
Select the Jira project and the Issue type to which you want to send the ticket. The fields in the example below are based on the specific Project, so different Projects may show different options.
Jira ticket indicator and status
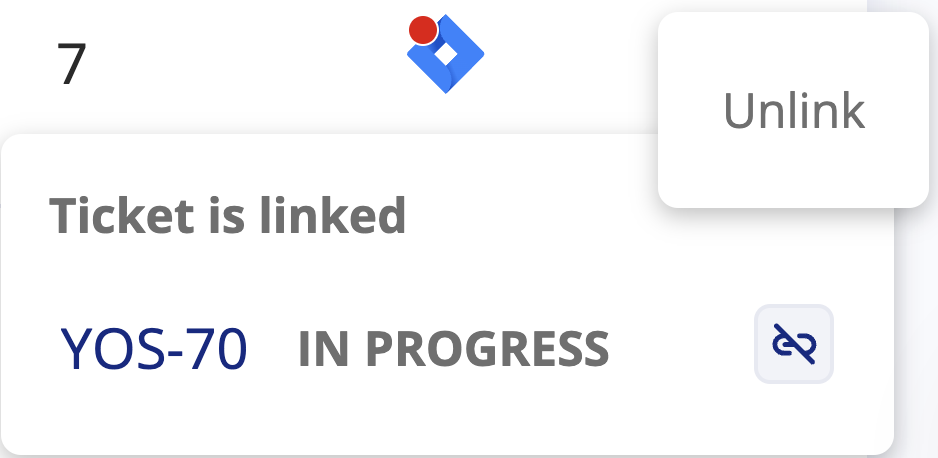
After opening a Jira ticket, you will find a Jira icon on that security issue, indicating there is a ticket assigned. When you mouse hover over that Jira icon, you can see the attached ticket including the Jira status

Unlink a Jira ticket
In case you want to unlink a Jira ticket that is attached to a security issue, simply click the Unlink button, and approve the Unlink action on the dialog
Updated 8 days ago